Sunday, December 30, 2012

Dishwasher Soap

Tomorrow is New Years Eve and we have friends staying with us, so you get another short and straight to the point post. Plus I don't know how to make a post about dishwasher soap interesting.

Homemade Dishwasher Detergent
  • 2 c borax
  • 2 c Arm & Hammer washing soda
  • 2 c lemi shine*
  • 1 c kosher salt
Mix all together and use 1 Tbsp per load. 

You can get the borax, washing soda and the lemi shine in the laundry aisle and the kosher salt in the baking aisle.

The Verdict:  This is a perfect example of why I like to try things for awhile before I give an opinion.  It started out great.  My dishes were very clean and sparkly.  But after about 2 weeks it stopped working.  (one batch lasted me about 6 weeks and that was doing a load a day) A lot of the dishes on the top rack would have a strange greasy film on them that I would have to scrub by hand to get off.

I was baffled by this.  Why would something work so great for 2 weeks and then stop?  I tried cleaning the dishes before I put them in the dishwasher. I tried cleaning the dishwasher itself with homemade products and store bought products.  I even had my mother in law do the dishes once and she is a perfectionist when it comes to clean dishes.  Nothing worked. For some reason the dishes came out with a greasy film on them.

Plus the mixture was very picky about where it needed to be stored.  I tried keeping it in an airtight container under the sink but after a few days it became rock solid from the humidity so I had to make another batch. I kept that batch on top of the fridge and that kept it from becoming a solid mass. 


So there you go.  Once again I have saved you time and money by testing something for you. Your welcome.
 Have a Happy New Year. 

Wednesday, December 26, 2012

Long Hair Part 2

I find it amusing how many people have asked about my hair after they read my post about using apple cider vinegar to make my hair grow faster.

My hair is something that I have always been a bit prideful about.  It's very thick and healthy and no matter what I do to it, it always bounces back.  I can soak it in lemon juice and let the sun fry it to a crisp and within 1 week it looks just as healthy as ever.

One day I may end up looking like Gollum because of my pride and for all the strange things I do to it, but for now it is just fine.

After the disaster with the apple cider vinegar I let my hair take a few weeks off then I started in on a potato mask.

Potato Mask For Hair
Just juice 3 potatoes, add in one egg yolk and some honey and you got yourself an awesome potato hair mask! This will absolutely help make your hair grow faster and it’s natural! 

Once again this website did not give any detailed instructions.  How often do I put it in?  How long do I leave it in? Do I put it on wet or dry hair?  These questions are essential when smearing vegetables in your hair!

After reading about different hair masks I decided to try this mask once a week.  My plan was to put it on dry hair then let it sit for at least 20 min before washing it out.

Since my hair is shorter I decided to juice one large potato instead of three.


I had a little less then two cups and it was enough to cover my hair.
 I leaned over the tub and soaked my hair.  I then wrapped my hair up into a shower cap and had to quickly grab a towel because nasty brown liquid starting running down my face.
 I wish I had grabbed an old towel instead of ruining my nice white bathroom towel. 


The Verdict: *insert gagging noises* This was just plain gross!!!! I only tried it twice because the thought of doing it two more times to finish out the month made me sick.  Even with the shower cap on, brown liquid ran down my neck and face the entire time I had it on.  This pretty much left me immobile because I didn't want to get brown spots on the floor.   I can deal with gross brown liquid, what made me sick was the smell.

As time went on, the smell got more and more disgusting.  It was as though the potato was very quickly rotting.  After 20 min I jumped into the shower as fast as I could and scrubbed my hair, using about 1/2 a bottle of shampoo.  But that smell lingered.  No matter how many times I scrubbed my hair, I smelled like a rotten potato for 4 days.  It was like that old Sienfeld episode where the smelly B.O car sticks to Elains hair.

It also left my hair feeling very strange.  It was like a dirty but clean feeling and I did not like it.

To top it off, I have no idea if it made my hair grow faster.  I didn't think it would because I only did it twice in a month, but I forgot to measure my hair before I got a trim at the end of the month and I'm not about to call the lady and say "hey, how much of my hair did you cut off?  I need to know if my potato mask worked."

So I am now 0-2.  Lets hope my next attempt isn't as disappointing as these last two. 


Sunday, December 23, 2012

Homemade Cough Syrup

I got a text from my sister a couple weeks ago.  She told me she had made her own cough syrup and asked if I wanted to see pictures.  I was a little shocked at first.  Who makes their own cough syrup?  Then I remembered that it was my sister, a mother of 6 who can cure almost any illness using herbs and essential oils.  I bet she saves a fortune on doctor bills and medicine. 

 I said of course and was expecting to see 1-2 photos of what she had made.  I should have known that my very thorough sister wasn't going to send just one photo... she sent 12, and gave me detailed instructions of how she made it.

It didn't take long to figure out that what she had sent would be a great blog post. A blog post where I don't have to be the guinea pig?  I'll take it!

So all of the following information came from my oldest sister, and to protect the innocent lets name her Roberta from Swiss Family Robinson.  

Homemade Cough Medicine
You Will Need:
1 cup elderberry's
1/4 cup thyme leaf
1/4 cup marshmallow root
1/4 cup cinnamon chips
1 cup spearmint leafs
1 1/2 cup sugar or honey
3 cups of water
storage bottle
cheese cloth

Directions:
mix all the ingredients in a bowl.  Bring water to a boil and add all the herbs to the mixture.  Stir so the herbs aren't floating on the top.  Place the cheese cloth in a colander and strain the herb mixture through it.  Pour the liquid that you strained back into the pot. Add sugar.  Cook until the sugar is completely dissolved.  

The website has a video (on the bottom of the page, with a women in a pink shirt) that gives details about why each herb is good and how to make the cough medicine.

Roberta said she found all the ingredients at her local Health Food Store and it cost her about $11.  I tried to find the herbs here but was unsuccessful.  You can get them online but you have to buy them by the pound and it can be little bit pricey.  

Here are all  her ingredients ready to go.  when my sister sent the photos I will admit that the only thing I recognized was the cinnamon.  I googled the marshmallow root because I figured the image in my head of white fluffy marshmallow fields wasn't correct.


Instead of the cinnamon chips, Roberta just used regular ground cinnamon

The website doesn't say how long to cook the herbs, it just says to pour them into boiling water and then let it cool.  Roberta said she let it simmer for a little bit.


Once it looked like nasty swamp water that a crocodile would be hiding in, Roberta poured the herbs through her colander covered in cheese cloth to strain out all the herbs.


Roberta used honey instead of sugar.  While this cough syrup is safe for all kids of all ages, don't forget to use sugar instead of honey if you are giving it to a child under the age of 1.  


It looks kinda nasty to me but Roberta says her kids drink it right up and they love it. 

Roberta says she gives 1 tsp for children around 3 years old and 1 Tbsp for adults.  For all the in between ages she just adjusts accordingly. It can take up to 20 min for it to work and will last around 4 1/2 hours. 

The Verdict: Clearly I have none because I haven't tried it.  I plan on making it one day when I can find the herbs for a reasonable price but for now you will just have to take my sisters word for it that "it works so good"

Wednesday, December 19, 2012

Christmas Serving Tray

I saw some really cute serving trays made of peppermint candy on Pinterest.  I was really conflicted about trying to make one. On the one hand I am very curious and love to try out new things, but on the other hand I had no intention of using a serving tray.  On the third hand, I have a blog that always needs updating.  Looks like my imaginary third hand wins.

DIY Serving Tray

You’ll need:
Peppermints
a cookie sheet
parchment or wax paper {I used wax paper, but heard parchment paper works better!}
your oven

How To:
1. Heat oven to 350 degrees
2. Place wax paper on cookie sheet
3. Arrange mints in any design you wish on top of wax paper or parchment paper on a cookie sheet {allowing extra room on the sides}
4. Bake for approximately 8-10 minutes
5. Take out and allow to cool on cookie sheet {cools in approximately 5 minutes}
6. Remove wax paper from bottom {be careful, tray is fragile and breaks easily}

I bought 2 bags of generic store brand peppermints and spent the next 3 days unwrapping them all (ok I exaggerated, it was only 2 days) then placed them on my cookie sheet covered in wax paper

Knowing I was only going to make one, I decided to experiment with it and see what the edges would look like if placed on different areas of the tray. So I put two edges against the side of the cookie sheet and let the other two edges hang out all natural.


I put it in the oven and set the timer for 8 minutes.  Around the 7 minute mark the peppermints started smoking like crazy and the edges were bubbling so I quickly pulled it out.  Fortunately it looked fine and didn't have any scorch marks.

The first thing I noticed was the two edges that weren't against the cookie sheet.  They looked pretty pathetic, and thin. I quickly grabbed a knife and cut one edge to see if I could clean it up.  I was surprised at how quickly the peppermint had started to re-harden but I was able to cut through.

I didn't notice that the bottom part of my cut had melted back together so when I pulled the peppermint tray out of the cookie sheet there was a goofy hangnail left on the tray 


The verdict: It wasn't perfect looking but it was really cute.  The wax paper did not come off very well and it took a long time to tear off all the pieces from he back.  However, I later realized that it would have been better to leave the wax paper on. As I was holding it, the heat on my hands quickly made the peppermints sticky.  This isn't a walk around with type serving tray, it's more of a chill on the table with hor d'oeuvres (I have no idea if I spelled that right) on it or as a center piece.

There definitely was a big difference with all the edges.  The top part that was not against the cookie sheet and that I didn't cut was very sharp and brittle. 

 This is the edge that was against the tray.  It left a nice little lip and was very clean looking

Here is the edge where I cut.  I think if I had been more careful with how I was cutting it would had made a very clean and nice looking edge.


Life sure can have some funny coincidences some times.  I wrote this post and left it in my draft pile so I could come back and edit it before posting it.  Three hours after writing it my sons pre-school teacher gave him this cute ornament.


Obviously theirs didn't melt nearly as much as my tray did.  If I every make one again then I will probably start watching the peppermints around the 4-5 minute mark then pull them out as soon as they look melted enough.  Also, she put some type of finishing spray over the peppermints so they wouldn't stick to hands.  BRILLIANT!!!  If your going to use the peppermints as a serving tray then you probably don't want to put a sealant over the peppermints, you don't want any unwanted doctor trips during the holidays.  But if your using the peppermints as some sort of decor then the by all means, spray away. 

Sunday, December 16, 2012

Starbucks Caramel Apple Cider

I love Christmas time.  There are just so many wonderful things about it. I love the crafts, the songs, the lights, all of it.

One of my favorite things to do on a really cold December day is to grab a Caramel Apple Cider from Starbucks while I'm out shopping.

However, this year I haven't really gotten the chance to do that yet.  We have had a few cold days but overall the weather has been really nice. While it has been great to be able to still send the kids in the back yard, I'm not a fan of drinking scalding hot drinks when I'm wearing a t-shirt. 

HEY!!!! MOTHER NATURE!!!! Stop playing Angry Birds on your iPad and pay attention!!!! It's December not October!!!!

Plus, it doesn't help that all the Starbucks in our new area aren't convenient for me. As good as they are, they aren't worth a 3 mile detour.

Then one magical day, a homemade version of Starbucks apple cider popped up on Pinterest and I leaped for joy.  Not jumped, leaped.  As in 10 Lords a Leapin. bwahahahahahah (I have the flu and flus make me tired and loony)

Homemade Apple Cider
4 cups apple cider
3 tablespoons caramel syrup (the ice cream topping)
1/2 tablespoon ground cinnamon
1/4 teaspoon ground cloves

Use a 2-quart slow cooker. Mix it all in together---stir, and cook on low for about 4 hours. I like to put it on after I clean up the breakfast dishes and then leave it alone until our after-school snack. I've also made a large pot for Girl Scout events and  playdates. The kids really like it, and it's a nice change of pace from hot chocolate with marshmallows.

Leftovers refrigerate and reheat well (in the microwave).

So I grabbed the ingredients the next time I was at the store and came home very excited to try it out.  I got everything I needed then discovered that I had grabbed a jar of butterscotch topping and not caramel.  I wish I could blame that on the flu but sadly no, my daughter was screaming and I was late picking up my son from school so as I walked by the ice cream topping shelf I just grabbed a jar that was the same color as caramel.

Eventually I had everything I needed, so I went to Starbucks and got a caramel apple cider so I could compare the two.

I could not find ground cloves anywhere so I threw in 4 whole cloves and fished them out before consumption.

I threw it all in the crock pot and went about my business.  After about 20 min the house started smelling really good.  So even if it turned out to be a gross drink I didn't care because it smelled great.

After 4 hours it was time to test them and compare

The Verdict: Obviously the look is very different (mine is on the right).  The homemade version didn't mix together as well as I thought it would and things kept settled pretty quickly so it had to be stirred before every sip.

My husband says he couldn't taste any difference.  I could definitely taste the cloves in mine and not the Starbucks one, but I actually liked it better with the stronger clove taste.  I bet if I only put 2 cloves in then it would be hard to tell the difference between the two. 

Unfortunately my kids didn't like it so sadly I will have to drink the whole batch and pretend that it's healthy because it has apples in it.


Wednesday, December 12, 2012

DIY Baby Wipes

When my 4 year old was about 2 months old I saw a blog about making your own baby wipes using paper towels.  I told my husband about it and gave me a "are you nuts" look.  He then gave me a great visual of a paper towel falling apart while cleaning up one of my sons many blow outs. Needless to say, I quickly forgot about making my own wipes.

Several months ago I saw another blog post about making baby wipes and I decided to give it a try. My daughter tends to have very dainty poops so I wasn't worried about creating a bigger mess if the paper towels fell apart.

I tried two different recipes and three types of paper towels so bear with me as I break it all down.

But first things first, we need to get the paper towels ready.  This is something you want to splurge on and get a brand name.  You don't want to have a cheap paper towel fall apart during use.  Trust me..... you don't want that to happen.

All three of the brands I used came with the option of pulling off a smaller size. (you know the ones that have pictures on the package of using 1 2 or 3 sheets?) This made for a good size wipe.  

Take a paper towel roll and cut it in half using a serrated knife.  Sounds easy right?  For me, not so much.  I don't know if I have a bad knife or if I just have no idea how to use a knife because all my paper towels looked like a massacre. It's surprisingly hard to cut through the cardboard center and by the time I'm done there are so many pieces of paper towel bits all over the kitchen that you would think Edward Scissor Hands had been the one to cut the paper towel. It was the same situation with all three brands of paper towels.

Once you have your paper towel cut, place it in a container with a lid that seals.  You can either open the lid each time you need the wipes, cut a whole in the lid to pull them out one by one, or pull each piece apart before hand and place them in a sealed container.

I tried to use an old Clorox wipe container but it was really narrow.  I eventually got the paper towels in, but it was extremely hard and tore up the paper towels even more then my hack job had.

Since the Clorox container was a bust I tried a #10 can and cut a X on the top.  This method works pretty good but sometimes the paper towels do fall out and it needs to be re-thread.


I also tried the pulling them apart before hand method.  It took some time to pull them all apart, but it was really easy to use during a diaper change. I kept them in a regular Tupperware container and I just took the lid off before the diaper came off then I could grab what I needed.

Both the #10 can and the pre-pulled methods work great, it just depends on your preference. 

Onto the recipes;

The first type of recipe I used came from this website. There is a great 'how to' video that starts around the 3 minute mark and there is a list of other things to make with the paper towels like glass cleaner. According to this women, the wipes cost about 75 cents each.  And she has some awesome cut the paper towel skills.

Home made baby wipes
  • 2 1/4 cups water
  • 2 tablespoons baby wash
  • 1 tablespoon baby oil or mineral oil

Directions 

You take half of the paper towel roll, put it in the container. Mix together to and a quarter cups of water, two tablespoons of baby wash and 1 tablespoon of baby oil or mineral oil depending on if you would like the fragrance or not. Then you are going to pour that over the paper towel roll. Then you are going to reach in and pull out the cardboard tubing. It's easier to pull out once it's wet. Then, as you need a wipe, you just reach for the center and pull out as you need a wipe, very easy. You can cut little slats in the top of the container so you can pull it out and it remains closed. Or you can leave it and just pull the lid off as you go.  

The verdict: These worked pretty good but I wasn't a huge fan.  Towards the end of the roll, they started to smell a bit funky, and my daughter seemed to get more diaper rashes.  Plus they just seemed too wet.  The next recipe uses a 1/4 cup less water and it made a big difference. (I have no idea why this font is different, blogger is being crazy today)

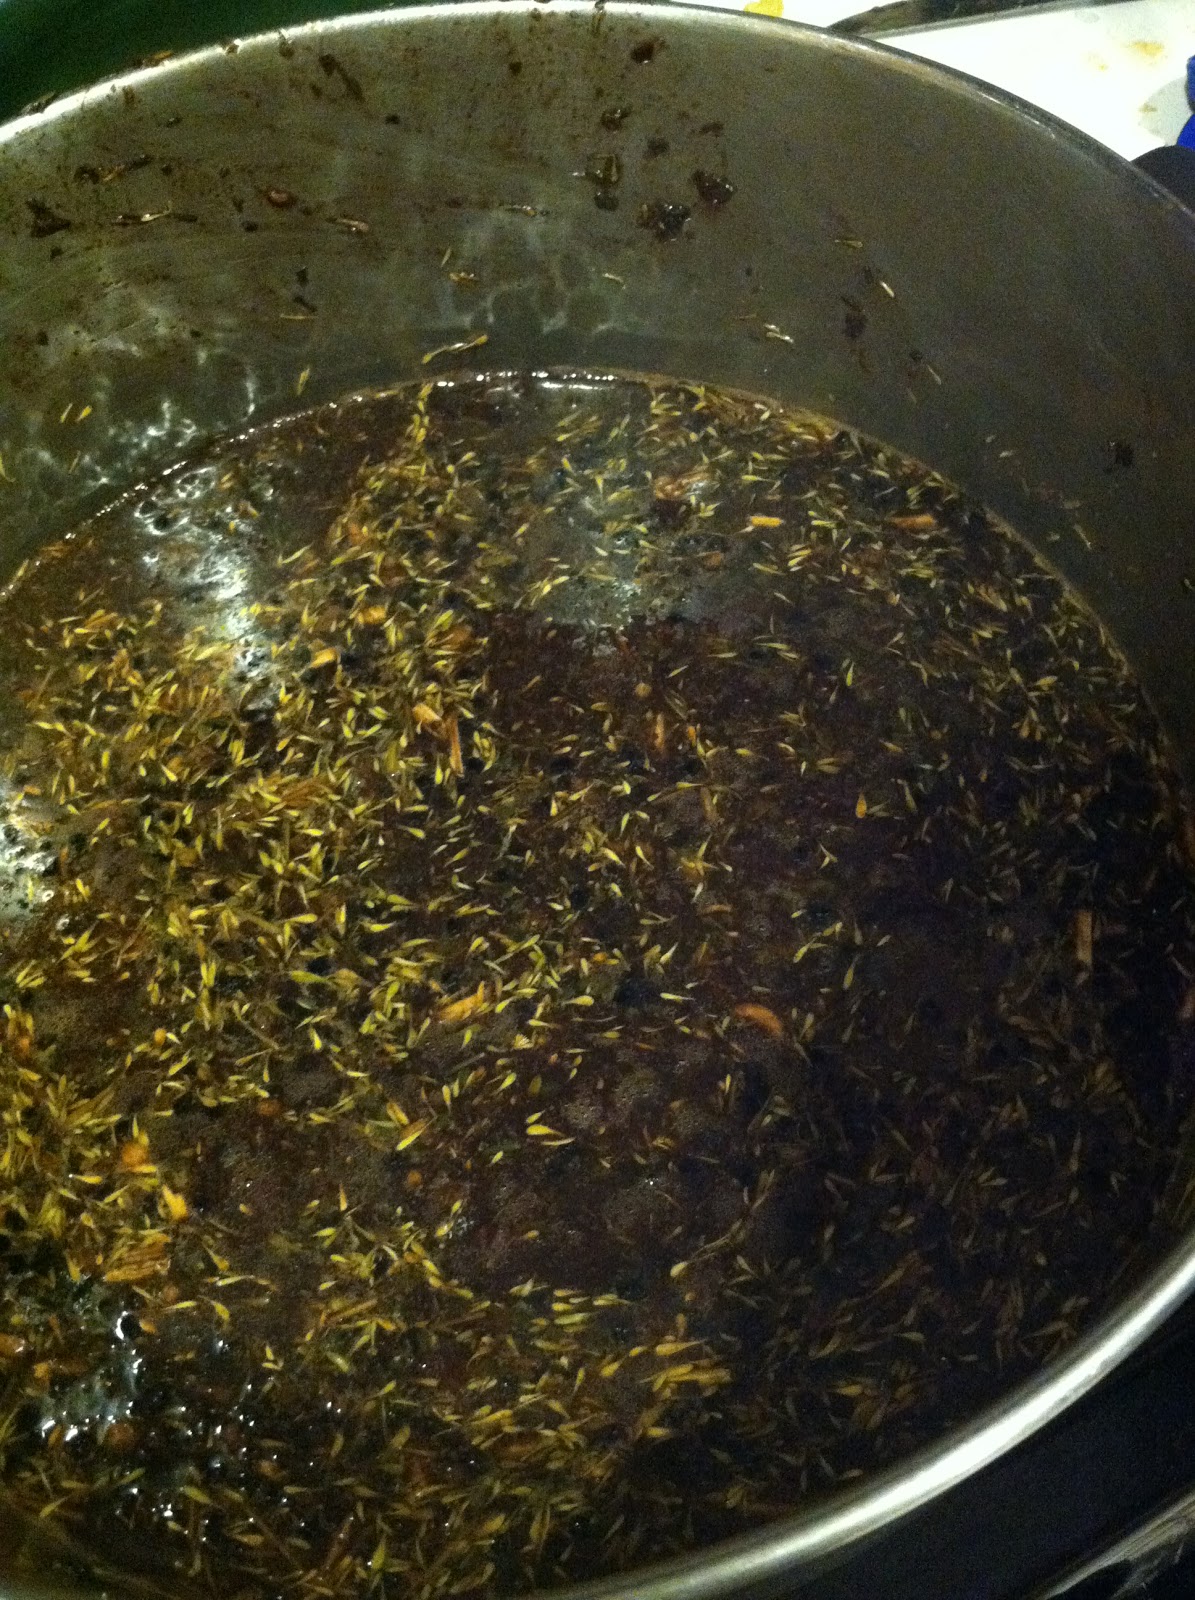
Then I tried a recipe my sister sent me from her DoTerra magazine
DoTerra Homemade Baby wipes
2 cups warm water
2 T doterra fractionated coconut oil
3 drops lavender
3 drops melaluca (tea tree oil)

Directions
cut paper towel roll in half with a serrated knife. Use half of the roll now and half later.  Place towels in storage container. Add the oil and water mixture, turning until liquid is absorbed. Remove the cardboard roll, and pull wipes from the center. 


I don't have DoTerras coconut oil and to be honest, I have no idea what they mean by fractionated.  So I just used the regular coconut oil you can get at a store and melted it before adding the other ingredients. 
The Verdict: I really love this recipe.  The wipes always smell so clean and fresh and my daughter rarely gets diaper rashes with them.  Plus I am surprised at how much a difference it makes to have 1/4 cup of less water. I did have one batch that had mold on the last paper towel. My guess is because I didn't measure my ingredients well that time and I didn't mix it before I poured it in.

Ok are you still with me?  We are almost done I promise, get up, stretch your legs if needed.

Now the paper towels I used.

Bounty's Verdict: This is the only paper towel that I used both recipes on.  The recipe with the baby wash had too much water.  That extra 1/4 cup of water made the paper towels pretty wet which made them tear easily.  But with the DoTerra recipe these worked great.  They come out of the #10 can very easily.  Towards the end of the roll they do get a bit thin, I think they sort of  deteriorate.  But I just double up on wipes and they still work fine.

Viva Verdict: These are thick and feel almost the same as some store bought baby wipes. They are also really soft.  But they are impossible to tear apart with one hand.  When I pull them out of the #10 can they just keep coming.  It's like a cheesy magician trick where the handkerchief keeps coming out of his sleeve.  These are ones that need to be torn into their individual squares before hand.  It's a little annoying but it makes diaper changes a lot easier. Also, the rolls are smaller so I go through the wipes faster.

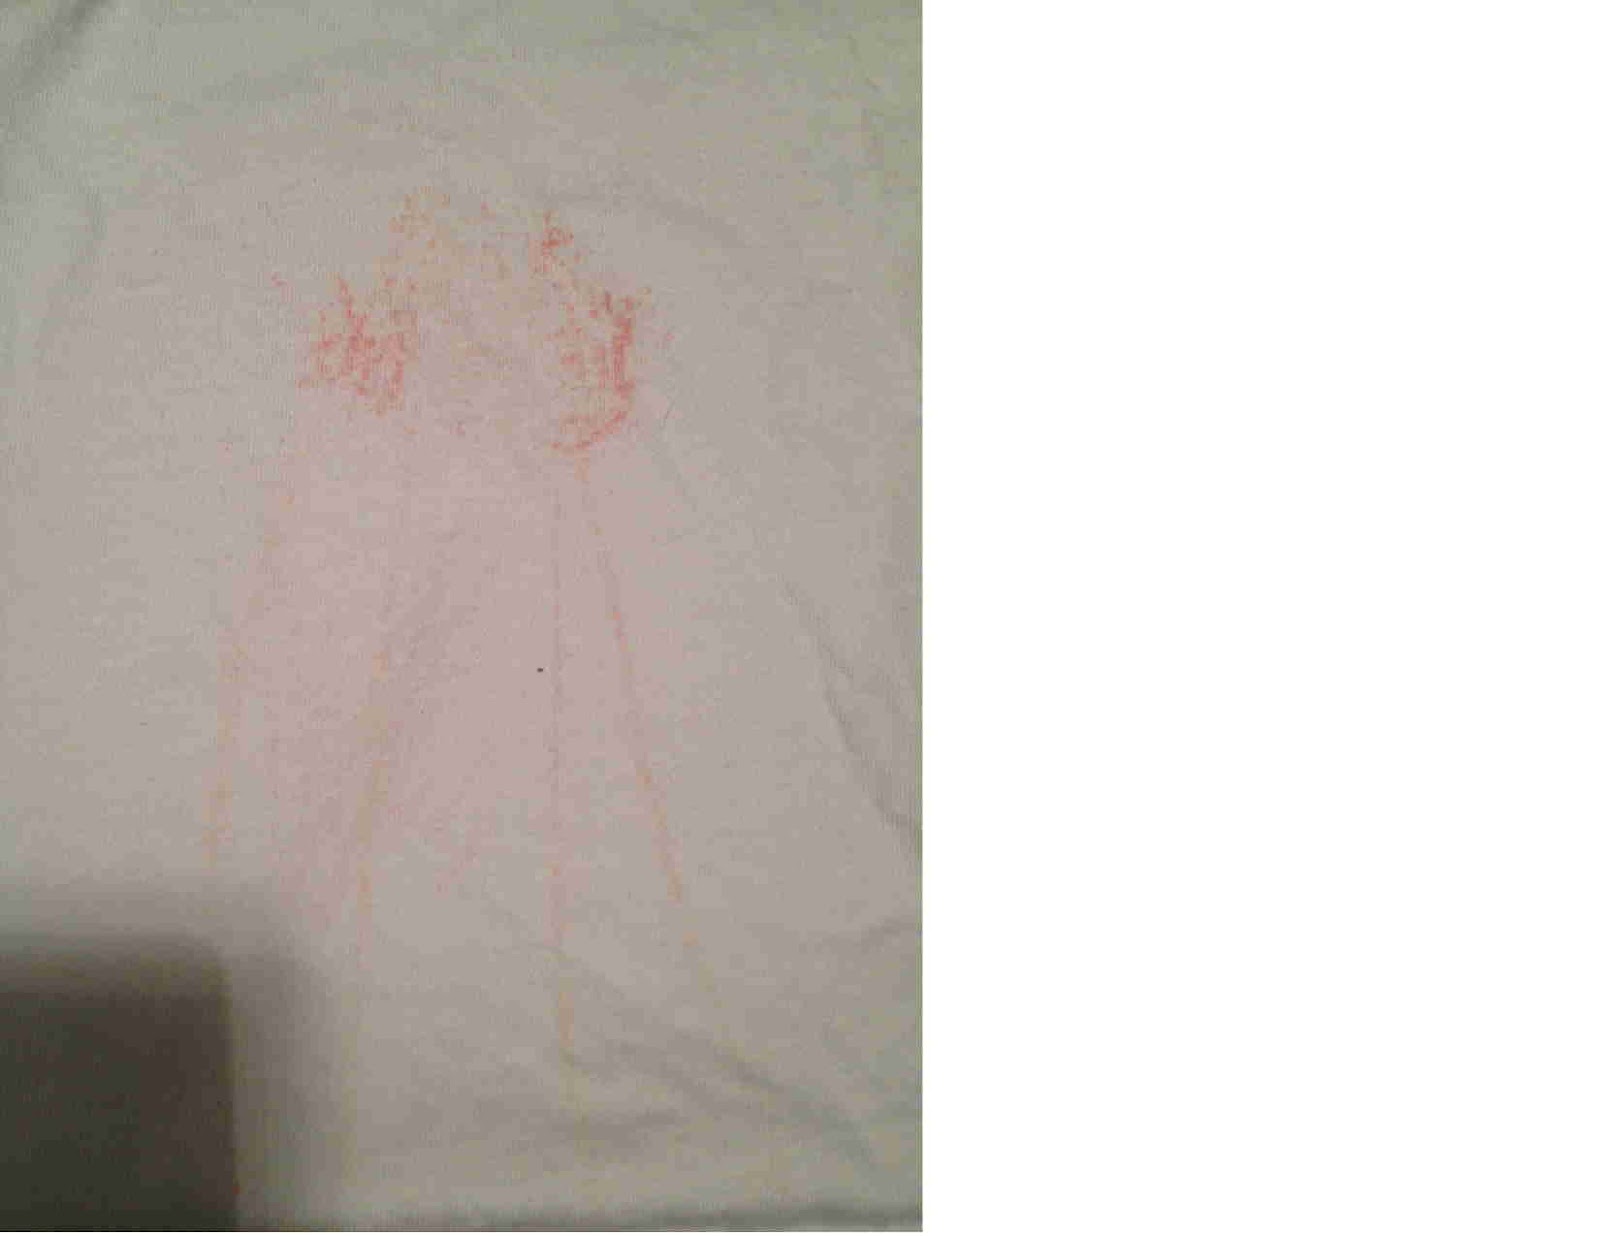
Brawn Verdict: I have nothing good to say about this one.  They were to thin and fell apart easily.  I got so annoyed with them that I tossed the roll about half way through.

The Verdict of the Verdicts: The DoTerra recipe is great and works very well.  Bounty and Viva are both good and I really don't have a preference between them.

PHEW!!!! Who knew there could be so much information on a poop cleaner?  If you actually read this whole post then I am very impressed.  Or maybe I should lecture you for using this post as an excuse to procrastinate when you really should be cleaning something.  HA HA  BUSTED! 

Sunday, December 9, 2012

And the winner is......

Thanks everyone for entering and for sharing the link to my blog.

I just know you have all been on pins and needles just waiting to find out who won this awesome homemade spa kit.

Drum roll please.....


ha ha, classic.

I am to cheap to use Random.org so I had my husband pick the winner the old fashion way.  He drew a name out of a hat

So without further adu, our winner is....

 KRISTEN TRAPPETT

Congratulations! and thanks again everyone who entered. 

Wednesday, December 5, 2012

Crayon T-Shirt

Now that it's getting colder, we are trying to find more indoor activities so the kids don't get cabin fever.  I saw a blog about a crayon t-shirt and thought it was such a cute idea.

You will need:
crayons
white shirt
sandpaper (the finer the grit the better)
iron
towel

Directions:
1) Color a picture on the sandpaper (it will be reversed on the shirt)
2) place a towel between the shirt so the color doesn't bleed onto the back
3) place the sandpaper on the shirt (image down) 
4) using a cotton setting, iron the back of the sandpaper for 30-60 seconds
5) put the shirt into the dryer for 30 min to set the color

I grabbed some 400 grit sandpaper and told my son to color whatever he wanted. My daughter is a little to young for this activity I think.

As he was coloring he gave me the play by play of what it was.  It started out as Iron Man, then it turned into Iron Women then he decided it should just be a big ball of fire. He tends to draw really light, so I went back over it and made the layer of crayon wax really thick on the sandpaper.
We put a towel in between the shirt and I let him do the ironing. 


After 30 seconds I pulled up the corner.  I could tell it was transferring but decided to go a bit longer.

The Verdict:  It was lighter then I thought it would be but it still looked good.  My son loved wearing a shirt that he made but unfortunately it didn't last. 
 Two washes later and it was starting to fade.  About the 4th wash it looked like a faded spaghetti stain. When he wore it it was no longer a cute homemade shirt but a pathetic neglected shirt. 

The next time we do it I think I will try it on a pillow case and  iron longer on a higher setting.

I've been staring at this blog post for about 30 min trying to figure out how to make it more entertaining by throwing in some humor.  I have nothing.  Apparently there is nothing funny about crayons and t-shirts.  So have a nice day


Sunday, December 2, 2012

"Can you bring me my chapstick.... but my lips hurt real bad."

I am a chapstick addict.  I'm not kidding, I hate the feel of chapped dry lips so I am always globing chapstick on.  I have a tube in every room of the house, in all my purses and in the car.  It's pretty pathetic.

I use to get really annoyed at the movie Iron Will because of how chapped his lips got.  He can bring a whistle and all sorts of food but he couldn't find room for a small tube of chapstick?


So now that winter is upon us my chapstick consumption has doubled, but sometimes it still doesn't do the trick.  Sometimes I get gross chapped lips with all sorts of dead skin hanging off that is impossible not to pick at. For a long time I used Satin Lips from Mary Kay and it did a fantastic job of exfoliating my lips, but you know me, I wanted to find a homemade version.

This is a DIY that I have been doing for so long that I don't remember where I first heard about it.

Lip Exfoliant:
Sugar
Honey
Mix the two together until you get the consistency you want.

There is no right or wrong with the amount you use, it just all depends on what you like.  I like to get a lot of sugar so I can really buff my lips and get all the dead skin off. Plus, the more sugar you have, the less sticky it is.

I tend to be really lazy and just do it all in a spoon.  I get a spoon full of sugar (I bet you just thought of Mary Poppins) squirt some honey on it and mix it with my finger.

 Using your fingers, rub the mixture all over your lips until you feel that you have buffed off all the dead skin.  It usually only takes about 10 seconds. 
If there is any of the mixture left over after your failed attempt at not licking it off, use a warm wet wash cloth to get the rest off. Apply your favorite chapstick. 

The verdict: A lip exfoliant that cost almost nothing?  That is my kind of DIY. 

Before: Hello dead skin
After: goodbye dead skin.