Water Blob
You Will Need:
Painter's plastic/plastic sheeting
Ironing board and iron
Parchment paper
Duct tape - optional, for sealing the hole for the hose
Directions:
Turn your iron on to its hottest setting. Keep your ironing board flat on the floor so that the weight of the plastic
didn't cause any cooperation issues. Roll out your plastic in your largest room, and fold it in half - to the
size you want your water blob. Cut a 2-feet long piece of parchment paper.
Fold it in half, length-wise and draw a line about 2-inches out from the fold. This will be your guide of how far into iron. Open up your parchment and place your plastic inside, aligning it to the fold of the parchment. Then, fold the parchment back over. Now, use your hot iron to slowly melt the plastic together by running the iron across the line of your parchment. Do not let the iron touch the bare plastic - it will melt a hole in it, and will make a huge mess all over your iron! Press firmly, but not too hard - because the plastic is hot, it will
stretch. You don't want to weaken the plastic by thinning it out with
too much pressure. Less is more. You can always re-melt the plastic it did not completely seal! Let it cool for a few seconds before removing the parchment. If you
remove the parchment too early - you could risk stretching the plastic.
(You could alternate two pieces of parchment, let one cool while the
other seals) Continue to seal all of the edges, overlapping a few inches to make sure there are no holes.
Now, carefully cut a small slit in the folded end of the plastic, near the corner. Place the hose in a few feet, and prop the corner up so that the water does spill out while you fill your water blob. Seal off the hole with a piece of duct tape - or use your iron and parchment to melt the edge! I opted for duct tape because I plan on using it again a few times. Then let the kids go wild!
If you tuned out after the first sentence because it was beyond confusing then don't worry, if you go to the original post you will find photos with each step that are helpful. I'm just here to tell you what I thought about the outcome, not the step by step process, that would be to much work. :)
The picture I took of my plastic disappeared. I blame the little girl who got a hold of my phone and took 3,000 photos of her toe.
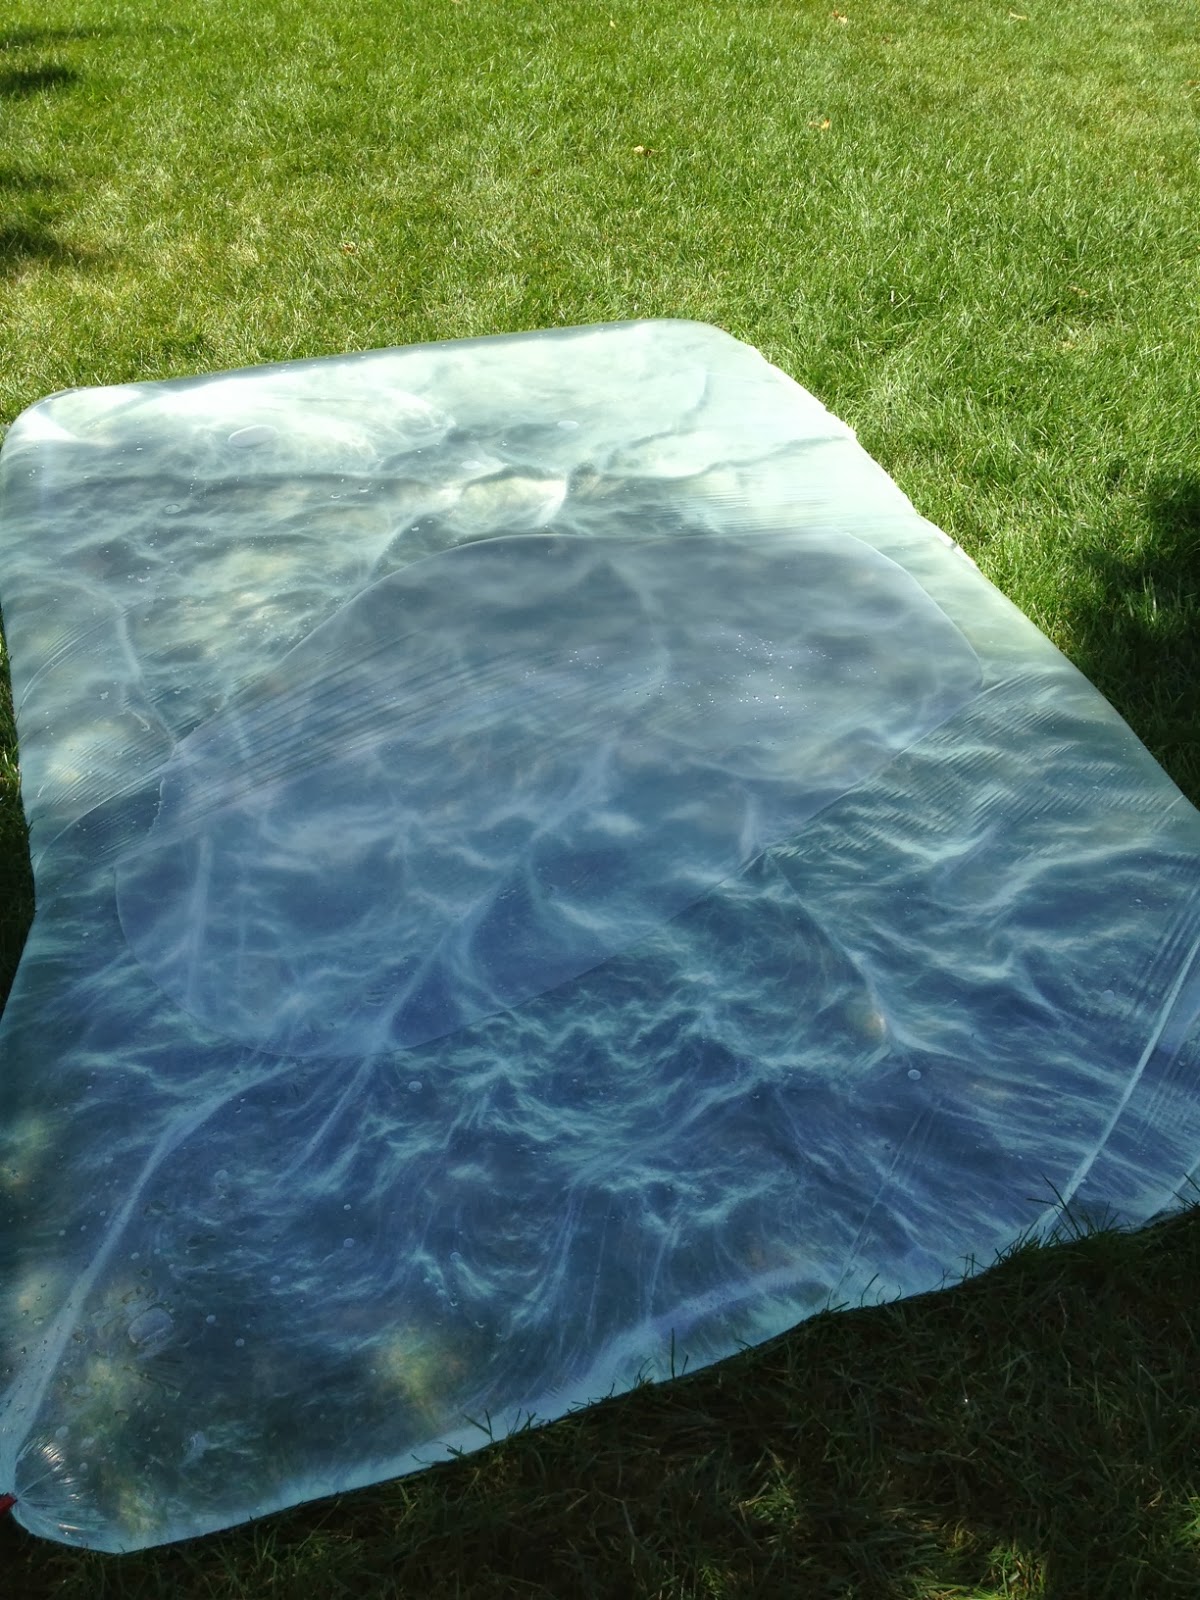
But it was very similar to this one and cost about $2

I got everything set up, turned on Micheal Buble and started to iron away. (Some how writing iron away just got the song Titanium in my head "

I slid the iron across the parchment paper going fairly slow, and ended up with this. Whoops.

So I slid the iron across the parchment paper faster and had much better results.
Using two parchment papers made it a lot easier. It took me about 20 minutes to finish the whole thing.


It took about 20 minutes to fill up to a point where I was comfortable with. I was afraid that if I did anymore it would pop to easily.
While holding the hole with one hand, some how I magically used the other hand to get a piece of duct tape and seal the hole up.

The Verdict: I was very impressed with how well it held up from the ironing. I was positive that I would have at least one hole some place.
I had the kids crawl across it initially, just to see how well it held up before I would let them roll around it, and something interesting happened. Everywhere my son's hands and knees hit, they left a hole. I have two theory's as to why this happened. 1) There is a weight limit to the plastic and he was over that weight. 2) My son is secretly Spider Man and has tiny little grippers all over his hands and knees.
But here is what really surprised me. The plastic had about 8 holes in it and was still in the same shape. The water wasn't leaking out.

So the kids water blob turned into a huge puddle. They spent 20 minutes running across it, jumping on it, rolling around the plastic and having a wonderful time getting very wet.


Eventually the blob did lose all it's water and we ended up with this.

No comments:
Post a Comment