I thought it was the most incredible thing and HAD to have one. So I saved my pennies, filled out the card and waited the 6-8 weeks for that book to arrive in the mail. Needless to say, when that book safe arrived I was pretty disappointed. My super sweet mysterious book turned out to be a pathetic looking piece of plastic that had no resemblance to a book.
Recently, when I saw a Pin about making my own book safe I knew I had to do it. Not because I was planning on actually hiding things in it, but I needed to finally have my cool book safe so I could close the chapter on that part of my life (pun intended).
DIY Book Safe
You Will Need:
Hardcover book
Glue
Paint brush
Wax paper
Xacto knife
Metal ruler
Directions:
Lay the pages on any wax paper-lined surface with an edge. Pin the first few pages of the book to the front and rear covers and weigh the rest of the pages down so they don’t move. Mix some glue and water together. I used about a 4:1 ratio of wood glue to water (if you’re making one book, you should mix one tablespoon of glue with 3/4 teaspoon of water). Glue the outer edges of the pages together with a brush to ensure that the pages don’t move when you cut them out later on.When you’ve put on a thick coat, unclip the covers and let the rear cover hang off the edge. Place some wax paper between the clean pages/front cover and the glued pages to separate them. Weigh down the book so the wet pages don’t wrinkle and swell.After a couple of hours, put on a second coat of glue and let it dry overnight. Don’t throw the wax paper away after this step. You’ll use it later on. The glue dries pretty clear and should hold the pages firmly. To cut out the cavity, use a metal ruler to make straight cuts with an Xacto knife. Buy extra blades; it’s worth it. After you’ve cut fifty pages or so, you can stop using the ruler. This is tedious work, but you have to be patient and take your time or else the cuts will become uneven and angled. Go into this step knowing it’ll take about forty-five minutes to finish. When you get near the bottom cover, insert a sheet pan or something else you don’t mind scraping up between the pages and the back cover. This is to keep the inside of your book nice and neat. Once the cavity is cut out and you’ve cleaned up the edges with your Xacto knife, it’s time to glue again. Mix another batch of the glue/water mixture. Put your book back on the wax paper with the bottom cover hanging over the edge. Brush the glue all over the inner pages. If you glued the back cover to the pages now, the excess glue would pool inside your safe. The glue will hide most of your imperfections when it dries. Put on a thick coat and place the wax paper between the glued pages and the clean pages/front cover. Let it dry overnight under a heavy weight, just like before. The next day, all you have to do is glue the back cover to the glued pages and glue the first clean page over the cavity to hide your errant cuts. Weigh the book down again and let the glue dry for a few hours. When the glue is dry, cut the top page to reveal the cavity
I searched my book collection and found one that I knew I wouldn't be reading again.
I pinned the front and back cover together and included the first few pages of the book.

I mixed some Elmer's glue and water and painted it all over the edges

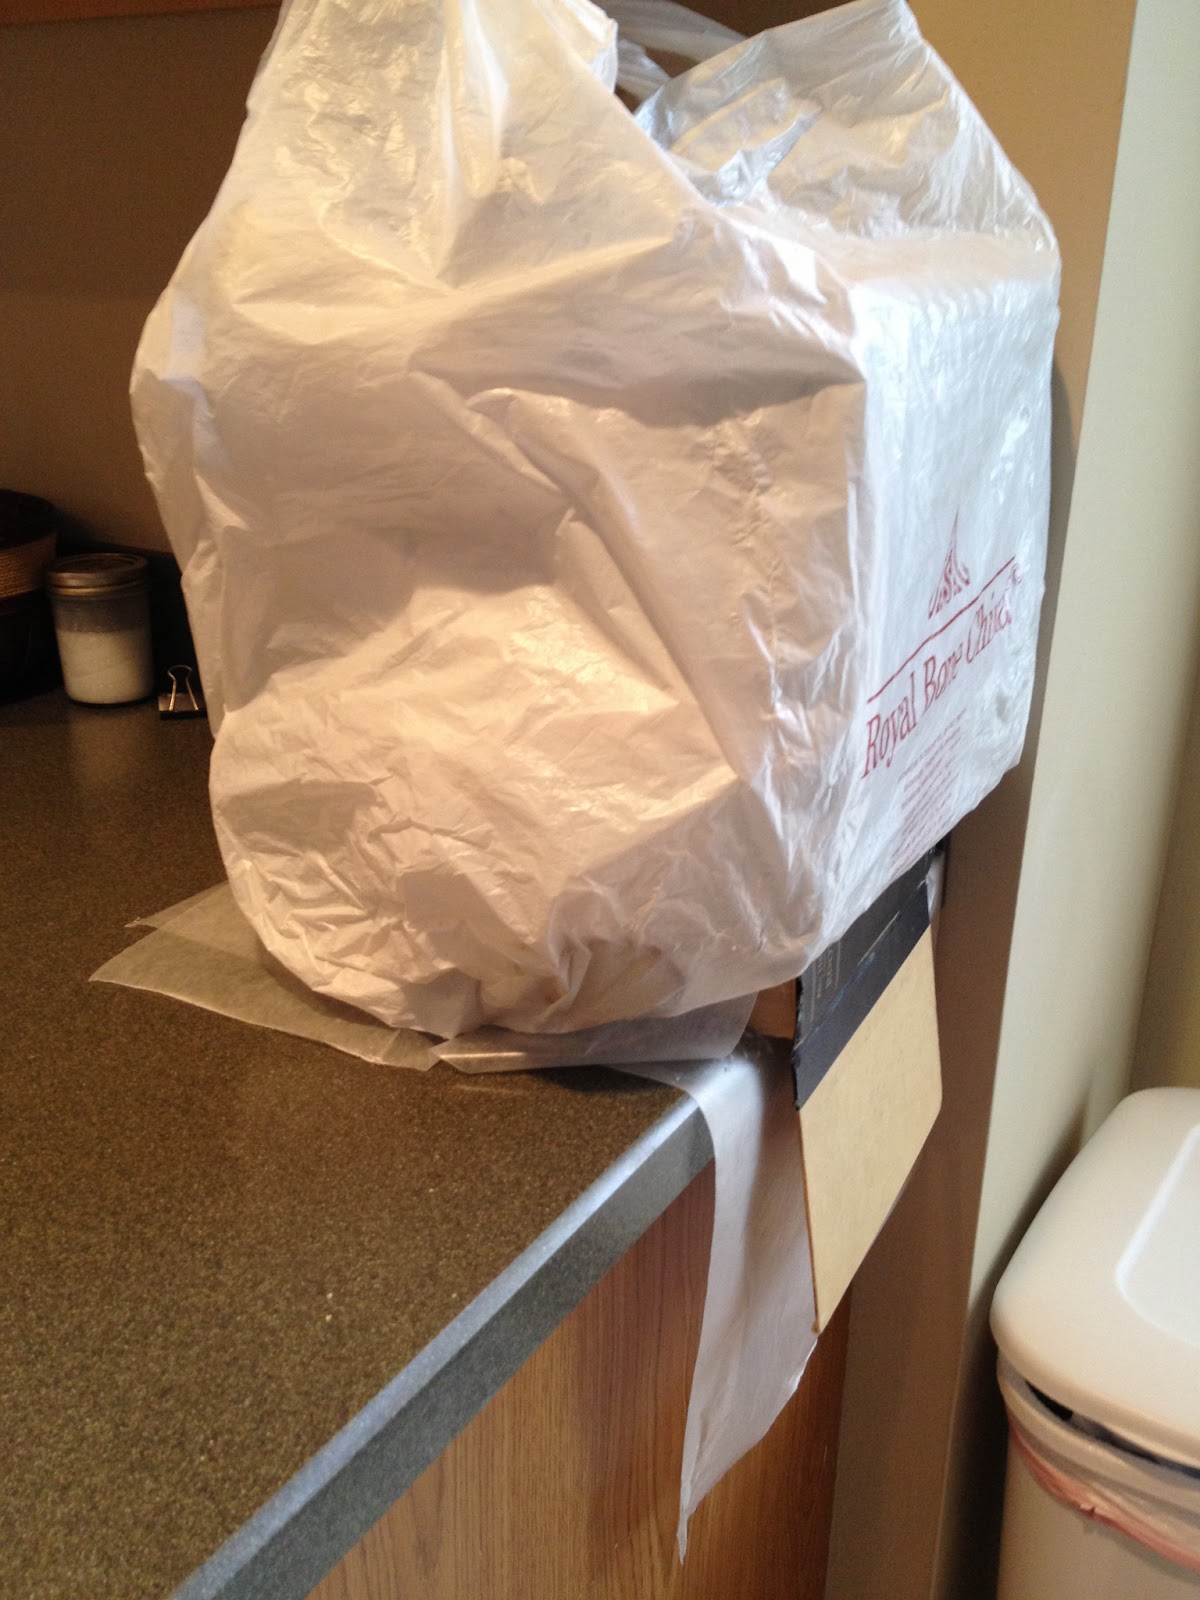
I undid the clip that was holding the covers together, put some wax paper all around the glued areas then put a box of china on top of the book. It was the heaviest thing I could find.


So I cut, then cut, cut some more, cursed, screamed, cried and wondered why in the world I was doing this.


The Verdict: This took me many, many hours over the course of 3 days. The deeper I got the harder it was to get the razor in and the harder it was to cut straight lines. Part of the problem could be that I had a thick utility razor instead of an Xacto knife. But it was also harder to get my fingers around the cut edges to pull the pages out.
About halfway through, this book started to put up such a huge fight that I'm pretty sure I saw the face of Tom Riddle laughing at me.
The edges started to fray really bad and I eventually got so annoyed at them that I got a lighter and burned them away so by the time I was done I was left with a pretty unappealing mess.

On the bright side, the outside of the book looks perfectly normal. Can you guess which one it is?

So what did I learn from all this? Use a thin book. Around page 300 is when things went from simple to hard, my book was about 700 pages.
So, my friends and I made one of these with a book we got from DI. We then made a fake call number, and put it in the BYU Library. It was there for years - it probably still is.
ReplyDeleteYour my hero!
Delete